
Wheel Throwing Technique: Tips for Better Pottery on the Wheel
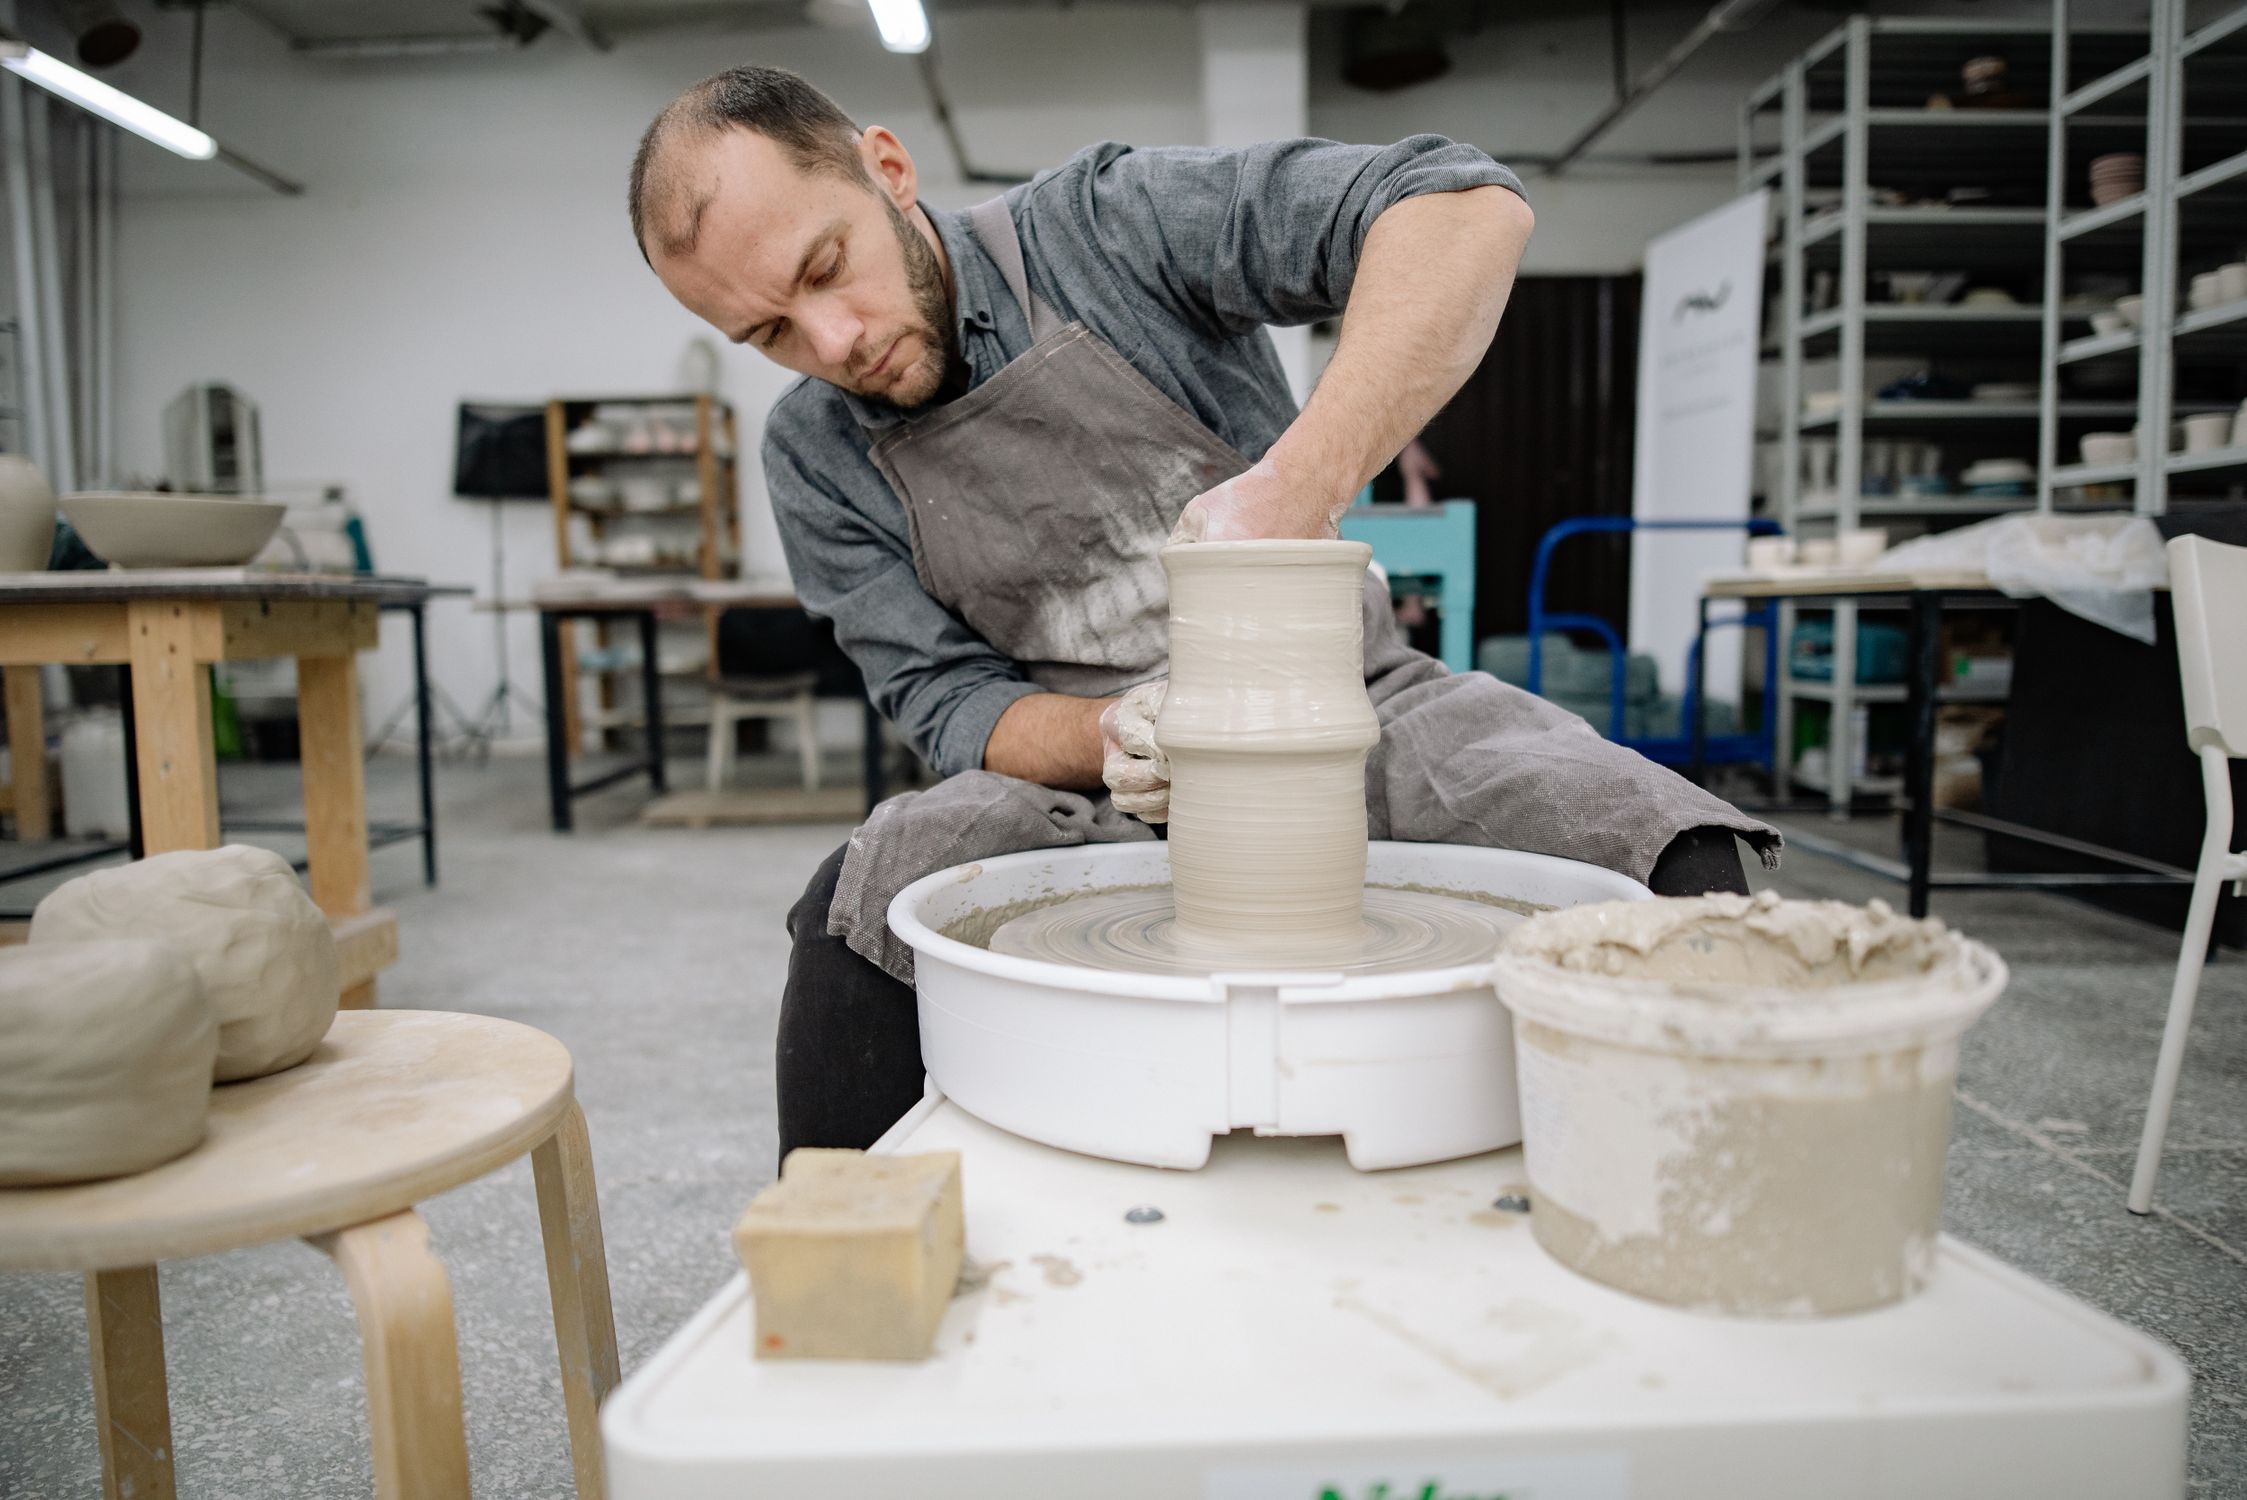
There's something deeply satisfying about sitting down at a pottery wheel, placing your hands on a lump of clay, and watching it transform into something beautiful. Wheel throwing is one of the most rewarding skills you can learn in ceramics — and it's more approachable than you might think.
Whether you're brand new or looking to sharpen your technique, here are some foundational tips that will make your time at the wheel more enjoyable and productive.
Start with Good Wedging
Before your clay ever touches the wheel, it needs to be properly wedged. Wedging removes air bubbles and creates a uniform consistency throughout the clay body. Air pockets are sneaky — they can cause pieces to crack during drying or even explode in the kiln.
Use a ram's head or spiral wedging technique, pressing and folding the clay against your work surface for a few minutes. You'll feel when the clay becomes smooth and pliable. It should have the consistency of firm bread dough.
Centering Is Everything
If there's one thing that separates a frustrating session from a great one, it's centering. When your clay isn't centered on the wheel, every step that follows becomes a battle.
Here's what helps:
- Anchor your elbows against your body or the wheel tray. Stability comes from your core, not your hands.
- Use the heel of your palm to push the clay inward, and your other hand to press down from the top.
- Keep your hands wet — but not soaking. A thin film of water (or slip) reduces friction so the clay moves smoothly under your hands.
- Breathe and stay relaxed. Tension in your arms transfers directly to the clay. Let the wheel do the work.
Centering takes practice. Don't get discouraged if it doesn't click right away — most people need several sessions before it starts to feel natural.
Opening and Pulling Up
Once centered, press your thumbs into the middle of the clay to create the opening. Go slowly and stop about half an inch from the bat — you need a solid base.
Pulling up the walls is where the magic happens. Use a sponge inside and your fingers outside, squeezing gently as you draw your hands upward. Key things to remember:
- Pull from the bottom up, not the top down
- Keep consistent pressure — uneven squeezing creates wobbly walls
- Work in multiple passes rather than trying to get the full height in one pull
- Slow your wheel speed slightly as your walls get taller and thinner
Shaping and Finishing
Once your walls are up, you can start shaping. A rib tool is your best friend here — use it against the outside of the piece while supporting the inside with your other hand. This compresses the clay, smooths the surface, and helps define your form.
For the rim, wet your fingers and gently compress the top edge between your thumb and forefinger. A clean, even rim makes a huge difference in how polished the finished piece looks.
Common Mistakes to Avoid
- Too much water: A waterlogged piece becomes soft and floppy. Use water sparingly — just enough to keep things slippery.
- Going too fast: Speed doesn't help. Slow, steady movements give you far more control.
- Skipping trimming: Once your piece is leather-hard, trimming the foot ring and cleaning up the bottom transforms it from "I made this" to "I'm proud of this."
- Giving up too early: Wheel throwing has a learning curve. Your first few pieces might not look like much, and that's completely normal. Every potter started exactly where you are.
Ready to Try It?
There's no substitute for getting your hands on the clay. If you've been curious about wheel throwing, a beginner class is the perfect place to start. You'll get hands-on guidance, all the materials you need, and the chance to experience that incredible moment when a lump of clay starts becoming something real under your fingers.
At Claya, we offer small-group wheel throwing classes in Denver's RiNo district. No experience needed — just show up ready to get a little muddy.